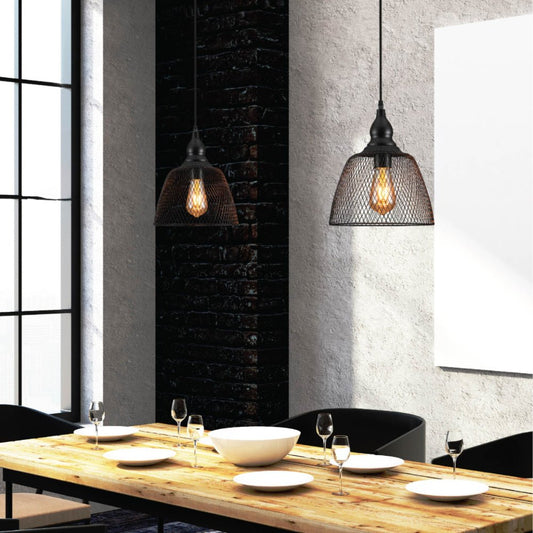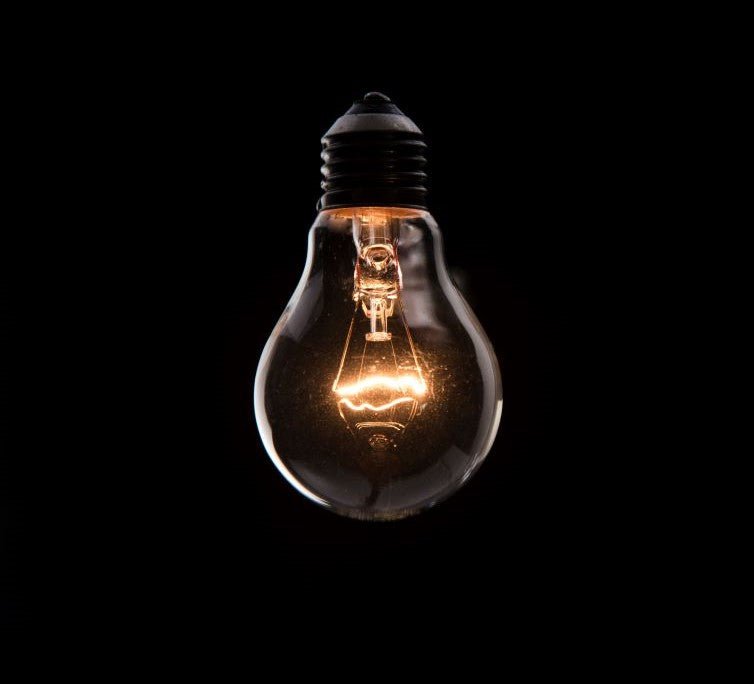
Conventional lighting refers to traditional forms of artificial lighting that have been commonly used before the widespread adoption of LED (Light Emitting Diode) technology. These conventional light sources are primarily based on older technologies and include incandescent bulbs, halogen lamps, fluorescent tubes, and compact fluorescent lamps (CFLs). Each type operates differently and has its own set of characteristics, advantages, and drawbacks.
What are the Differences Between Conventional and LED Lighting?
The transition from conventional to LED lighting marks a significant shift in the technology and application of artificial illumination. Here are the key differences between conventional (incandescent, halogen, fluorescent) and LED lighting:
1. Technology and Operation:
Conventional Lighting: Includes various types like incandescent (light through heating a filament), halogen (a more efficient form of incandescent lighting with a halogen gas), and fluorescent (light produced by a gas discharge causing a phosphor coating to glow). These methods generally involve more heat production and less energy efficiency.
LED Lighting: Utilizes light-emitting diodes, where light is produced when an electrical current passes through a semiconductor material, illuminating the diodes. This process is more energy-efficient and produces less heat.
2. Energy Efficiency:
Conventional Lighting: Generally less energy-efficient, with a significant portion of energy lost as heat. For example, incandescent bulbs convert only about 10% of their energy into light, with the rest being lost as heat.
LED Lighting: Far more energy-efficient, converting a much higher proportion of electricity into light with minimal heat loss. This efficiency results in lower electricity usage for the same level of brightness.
3. Lifespan:
Conventional Lighting: Tends to have a shorter lifespan. Incandescent bulbs typically last about 1,000 hours, halogens around 2,000 to 4,000 hours, and fluorescent lights around 7,000 to 15,000 hours.
LED Lighting: LEDs have a significantly longer lifespan, often ranging from 25,000 to 50,000 hours, reducing the need for frequent replacements.
4. Cost:
Conventional Lighting: Generally cheaper in terms of initial purchase price compared to LED lighting. However, the longer-term costs (energy bills, replacement costs) are higher due to lower energy efficiency and shorter lifespans.
LED Lighting: The initial cost is higher than conventional lighting options, but LEDs offer considerable savings over time due to their longer lifespan and lower energy consumption.
5. Environmental Impact:
Conventional Lighting: Fluorescent lights contain mercury, posing environmental hazards if not disposed of properly. Incandescent and halogen bulbs, while mercury-free, contribute more to carbon emissions due to their lower energy efficiency.
LED Lighting: Offers a greener alternative with no mercury content and significantly reduced energy consumption, leading to lower carbon emissions. LEDs are also more recyclable.
6. Light Quality and Control:
Conventional Lighting: The light quality can vary; for instance, fluorescents may produce a cooler, sometimes flickering light, which some find less cozy or harsher than incandescent light. Dimming capabilities are often limited or not as smooth.
LED Lighting: Provides a wide range of color temperatures, from warm to cool light, closely mimicking natural sunlight. LEDs offer superior dimming capabilities and instant illumination without flickering.
7. Heat Emission:
Conventional Lighting: Generates more heat, which can affect indoor temperature and air conditioning loads, especially in incandescent and halogen bulbs.
LED Lighting: Emits very little heat, making them safer to touch and less impactful on indoor climate control.
8. Flexibility and Application:
Conventional Lighting: While versatile, may not be as adaptable as LEDs in terms of color options, sizes, and applications.
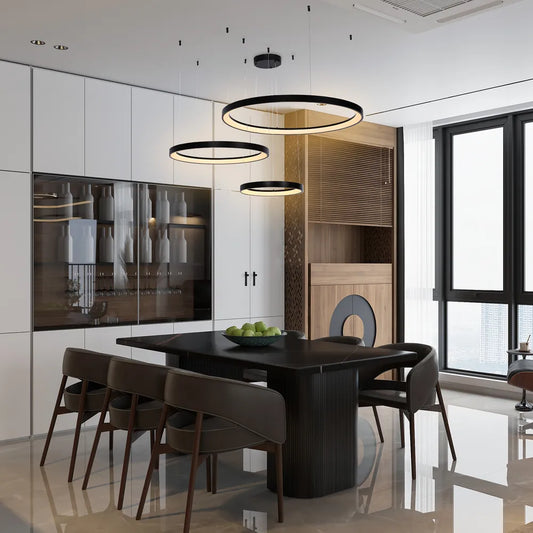
LED Lighting: Extremely versatile, available in a wide range of sizes, colors, and configurations, including strips and smart lighting options, allowing for innovative lighting designs and applications.
What are the Types of Conventional Lighting?
There are three types of conventional lighting: compact fluorescent non-integrated lamps (CFLs), halogen lamps, and HID (high-intensity discharge) bulbs.
Compact Fluorescent Non-Integrated lamps
CFLs contain mercury vapour as well as phosphors to produce light. The mercury vapour causes the electrodes in the bulb to glow, producing visible light. This glow is what makes them appear white when turned on at night or in low light conditions. Non-integrated CFLs require a ballast to operate. Typically, this ballast is permanently installed in the light fitting and helps the lamp last longer than an integrated lamp.
HID Lamps
High-intensity discharge lamps or HIDs belong to the family of gas–discharge arc lamps which create light when an electrical discharge between two electrodes through a plasma or ionized gas. These lamps are widely known for their high efficiency and a long life. These lamps require a ballast in order to generate and regulate the initial surge of electricity needed to start them.
Halogen lamps
Halogen tungsten incandescent lamps produce a bright white light by using gas instead of liquid mercury like CFLs do; however, they consume much more energy than other types because they use high voltage electricity instead of low voltage electricity like CFLs do with their low voltage ballasts which means that these lights can only be used during daylight hours because they will burn out very quickly if left on all night long without being switched off every 60 minutes when not being used anymore.
How to Wire in Downlighters from a Conventional Light?
Wiring in downlighters to replace a conventional light fixture involves a bit of electrical work that can significantly update the look and functionality of a room. Downlighters, particularly LED models, offer a sleek, modern appearance and are energy-efficient. It's important to note that working with electrical installations should be done safely and in compliance with local building codes. If you're not comfortable or familiar with electrical work, hiring a licensed electrician is recommended. Here's a general guide on how to wire in downlighters from a conventional light:
Tools and Materials Needed:
Replacement downlighters
Wire stripper
Screwdriver
Electrical tape
Safety glasses and gloves
Possibly a ladder, depending on the installation height
Safety Precautions:
Turn Off the Power: Before starting, ensure the power to the circuit is off at the breaker box to prevent electrical shock.
Test for Power: Use a voltage tester on the light switch and the light fixture to make sure there is no electricity flowing.
Steps to Wire In Downlighters:
Remove the Existing Fixture: Unscrew and carefully remove the existing light fixture. You'll see wires connected to it, typically black (hot), white (neutral), and a green or bare copper wire (ground).
Prepare the Ceiling Hole: If the downlighters require a different hole size than the existing fixture, you may need to adjust the ceiling hole. Many downlighters come with a template for this purpose.
Check Wiring: Ensure the wiring is in good condition. There should be a black (or red in some cases), white, and a green or bare copper wire. If the wiring looks old or damaged, it might need replacing.
Connect the Downlighter:
Match the Wires: Connect the wires from the downlighter to the corresponding wires in the ceiling: black to black (hot), white to white (neutral), and green or bare to the ground wire.
Secure the Connections: Use wire nuts to secure the connections, then wrap them with electrical tape for added safety.
Install the Downlighter: Fit the downlighter into the ceiling hole. Many downlighters are designed with spring clips for easy installation. Ensure it's securely in place and flush with the ceiling surface.
Restore Power and Test: Once all downlighters are installed and secure, turn the power back on at the breaker box and test the lights to ensure they work properly.
Additional Tips:
Consider Dimmable Options: If you want dimmable downlighters, make sure both the lights and the switch are compatible.
Check Insulation: If your downlighters are going into an insulated ceiling, make sure they are IC (Insulation Contact) rated to avoid overheating risks.
Nowadays most downlights and track lights do not use conventional lights anymore, integrated LED downlights or GU10 LED bulb downlights has been replaced or took place of conventional lights. TEKLED offers you a wide variety of integrated or non-integrated LED downlights and track lights. Besides that you may want to check our floodlights and high bay lights which come with 5y warranty and high-lumen efficacy.